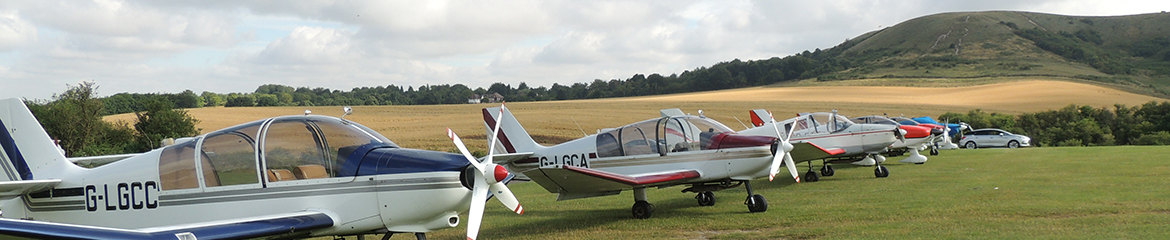
Fuel Installation
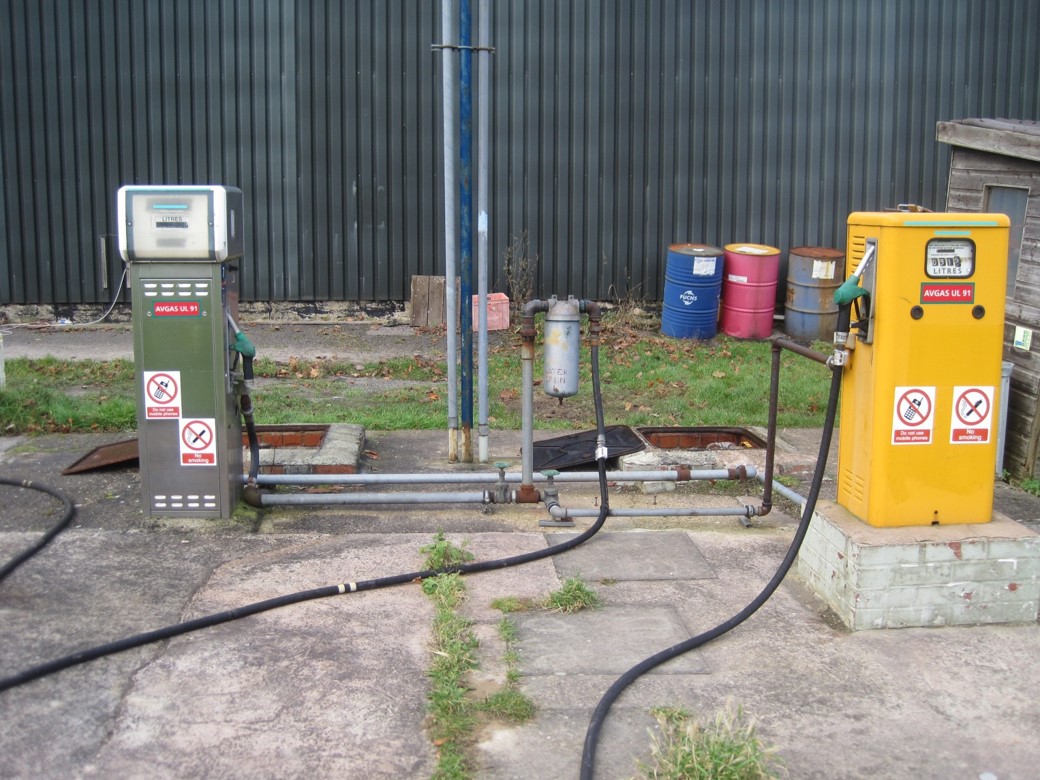
Fuel tanks
- Two tanks
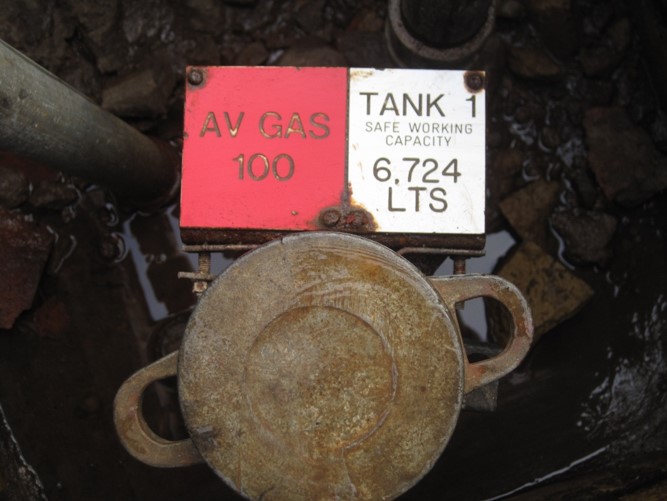
Tank 1 (Main Tank) 6,724 litres
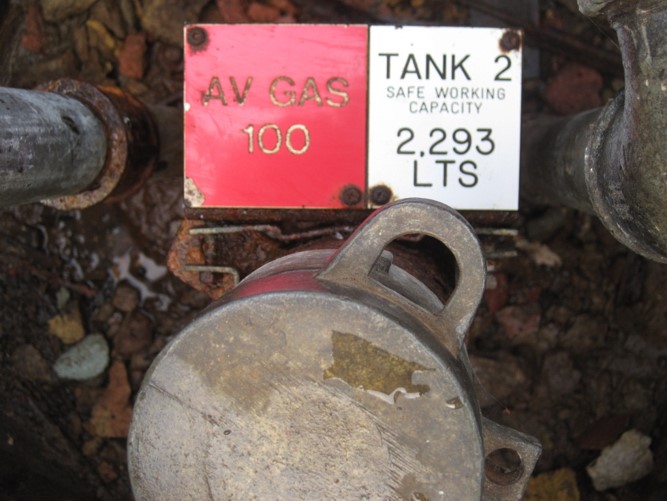
Tank 2 (Reserve Tank) 2,293 litres
- Two Pumps – Either tank can feed either pump

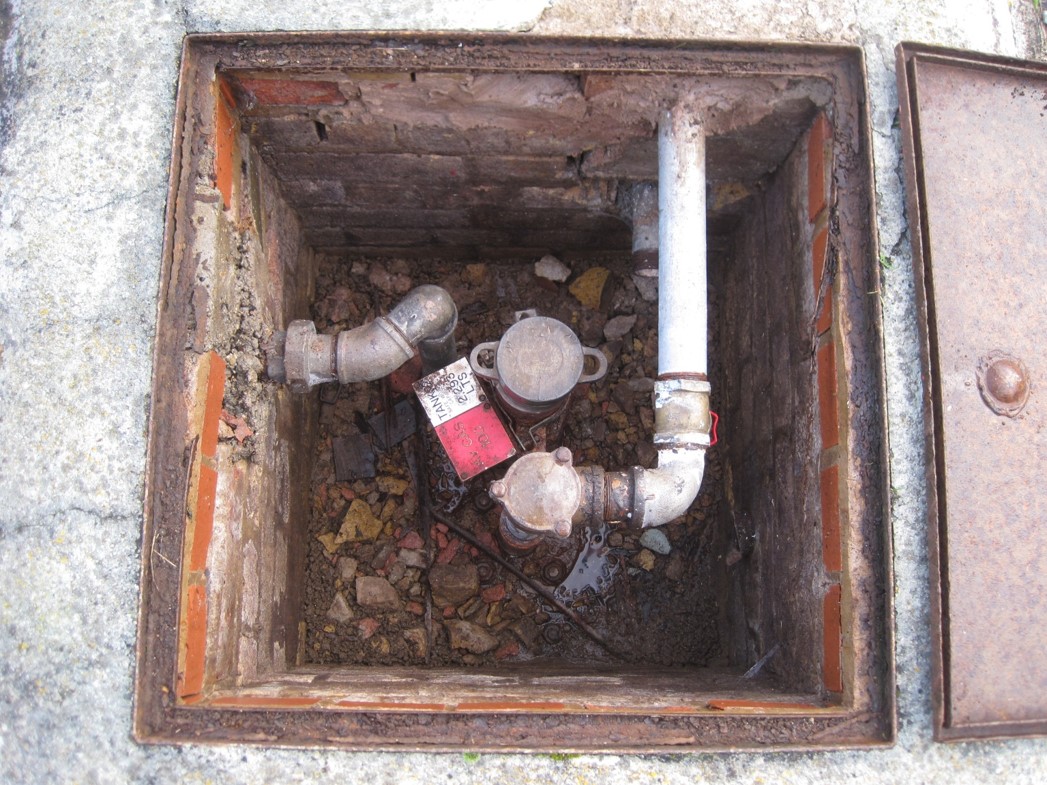
Tank and Pump schematic

Switching Tanks
Normal operation – Tank 1 feeding Pump 1
Symptoms of low fuel level in the tank
- Fuel flow rate reduces
- Pump labouring and fuel flow ‘surges’
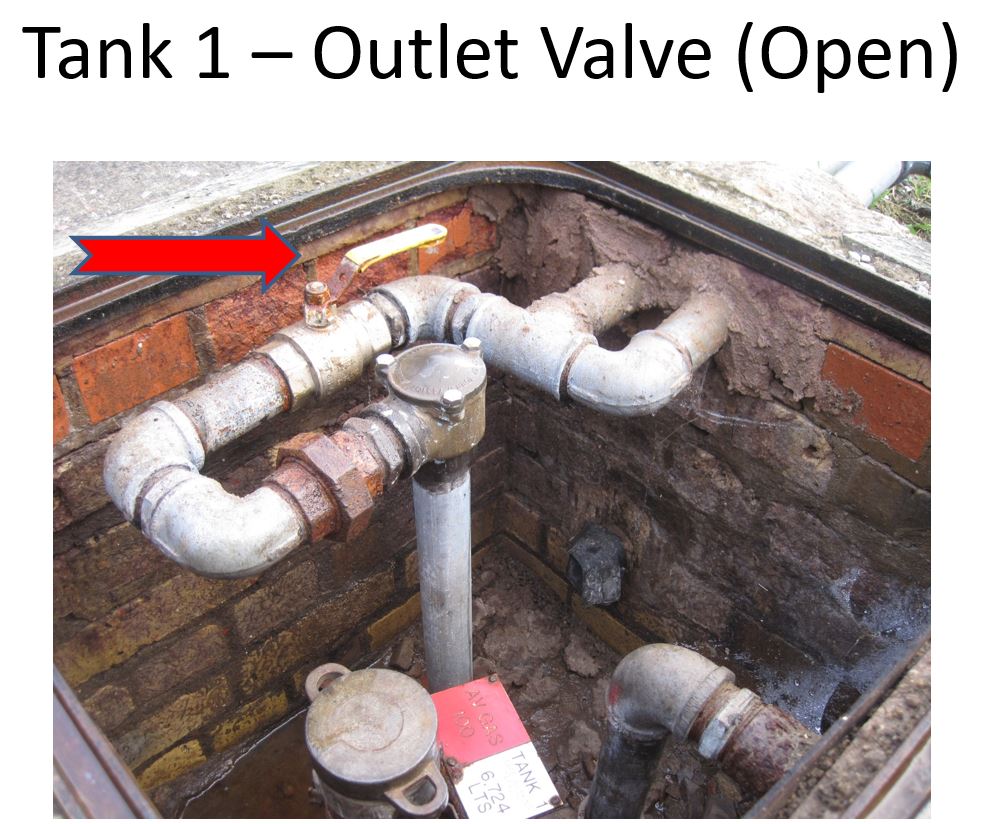
Change from Tank 1 to Tank 2
- Replace fuel nozzle in the pump
- Lift man lid on tank 1
- Move yellow lever so it is positioned at 90 degrees to the pipe which will close tank 1 outlet valve
- Lift man lid on tank 2
- Turn red wheel anti-clockwise (several turns) to open tank 2 outlet valve
- Replace both man lids – mind your fingers !
- Remove fuel nozzle and continue refuelling
Tank 1 – Outlet Valve (Open)
Tank 2 – Outlet Valve (Closed)

Switching Pumps
- If the pump in use (normally No.1) fails during refuelling
- Replace the fuel nozzle in pump No.1
- Operate the round green gate valve on the Dunstable side of the filter vessel by turning clockwise – this shuts the valve on the No.1 pump delivery line
- Operate the round green gate valve on the Pig Farm side of the filter vessel by turning anti-clockwise – this opens the valve on the No.2 pump delivery line
- Take the dummy nozzle from pump No.2 (which will start pump No.2) and replace the fuel nozzle in pump No.1
- You should now be able to continue refuelling
- When refuelling is complete, replace the fuel nozzle in pump No. 2

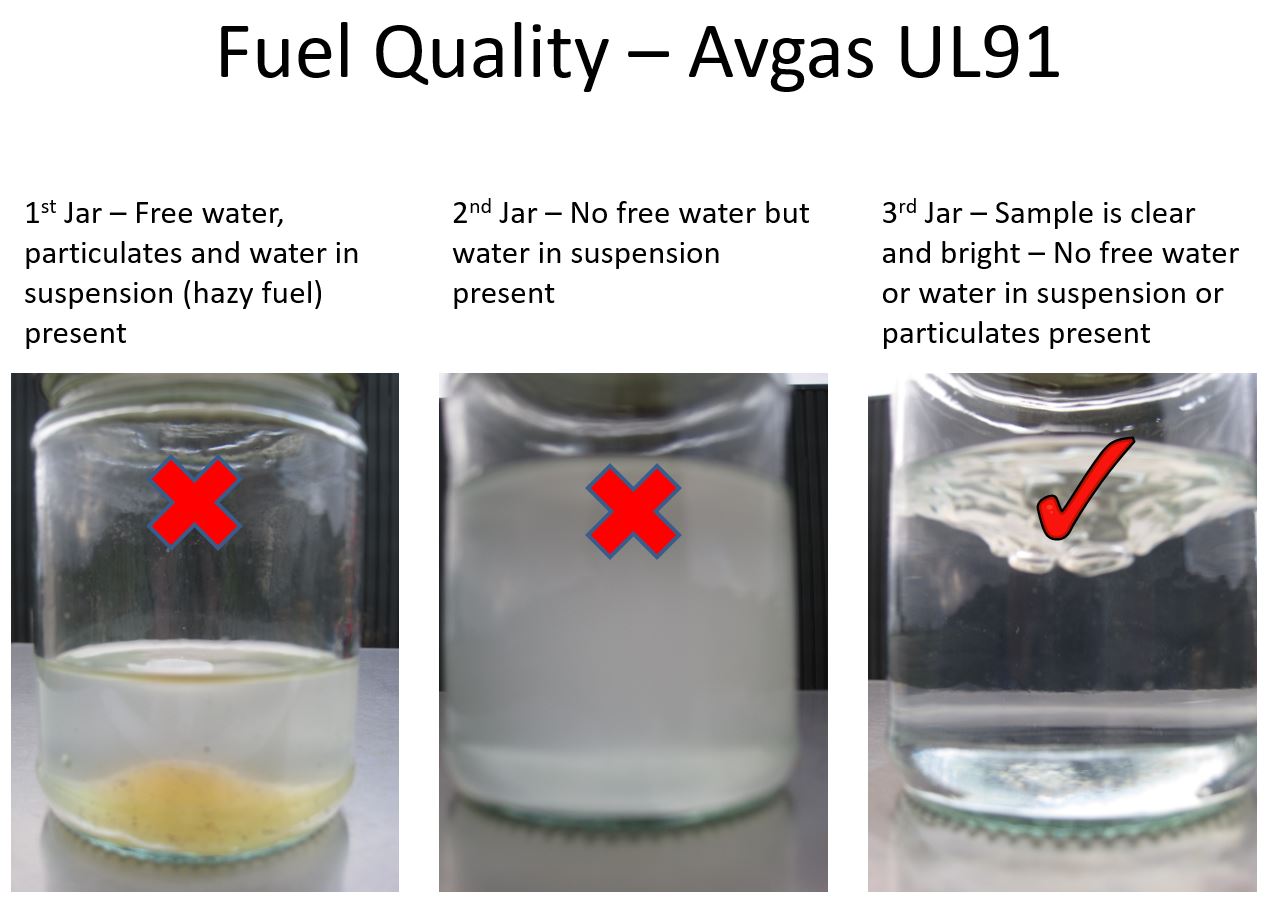
Filter Vessel – Daily Fuel Checks

- Use the correct sample jar for the day and empty the previous week’s fuel sample into the waste Avgas jar.
- Use clean tissue to wipe the inside of the jar to remove any particulates and water droplets sticking to the glass from the previous sample.
- Operate the water drain into the jar WITHOUT the pump running – this should result in a small amount of fuel in the jar before the flow stops and should clear any free water in the filter vessel – discard into the waste Avgas jar.
- Remove the fuel nozzle from the pump which will start the pump and pressurise the filter vessel. Take a sample from the water drain at full flow to at least half fill the jar.
- Put the lid on the jar and allow the sample to settle for a few seconds.
- ‘Swirl’ the fuel in the jar so that a vortex forms – this will help to collect any particles or free water on the bottom of the jar at the base of the vortex.
- If free water is observed or the sample is hazy (water in suspension) repeat the sampling process until a clear and bright sample is observed.
- Note – A small number of rust particles in the sample seem to be ‘normal’ at Dunstable.
Miscellaneous
- Remember to attach the earthing cable to an unpainted metal part of the aircraft to dissipate any static electricity BEFORE the fuel nozzle comes anywhere near the aircraft

- Do not leave the aircraft unattended while you are fuelling. Occasionally the automatic fuel cut-off mechanism in the nozzle doesn’t !!
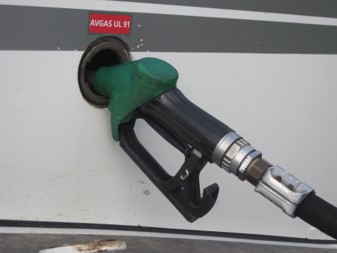
- Take care with the position of the nozzle in the aircraft to avoid fuel pouring out of the fuel overflow pipe as you are fuelling
….and don’t forget the paperwork !


Back to ‘Equipment’ Back to ‘Front Page’