Information
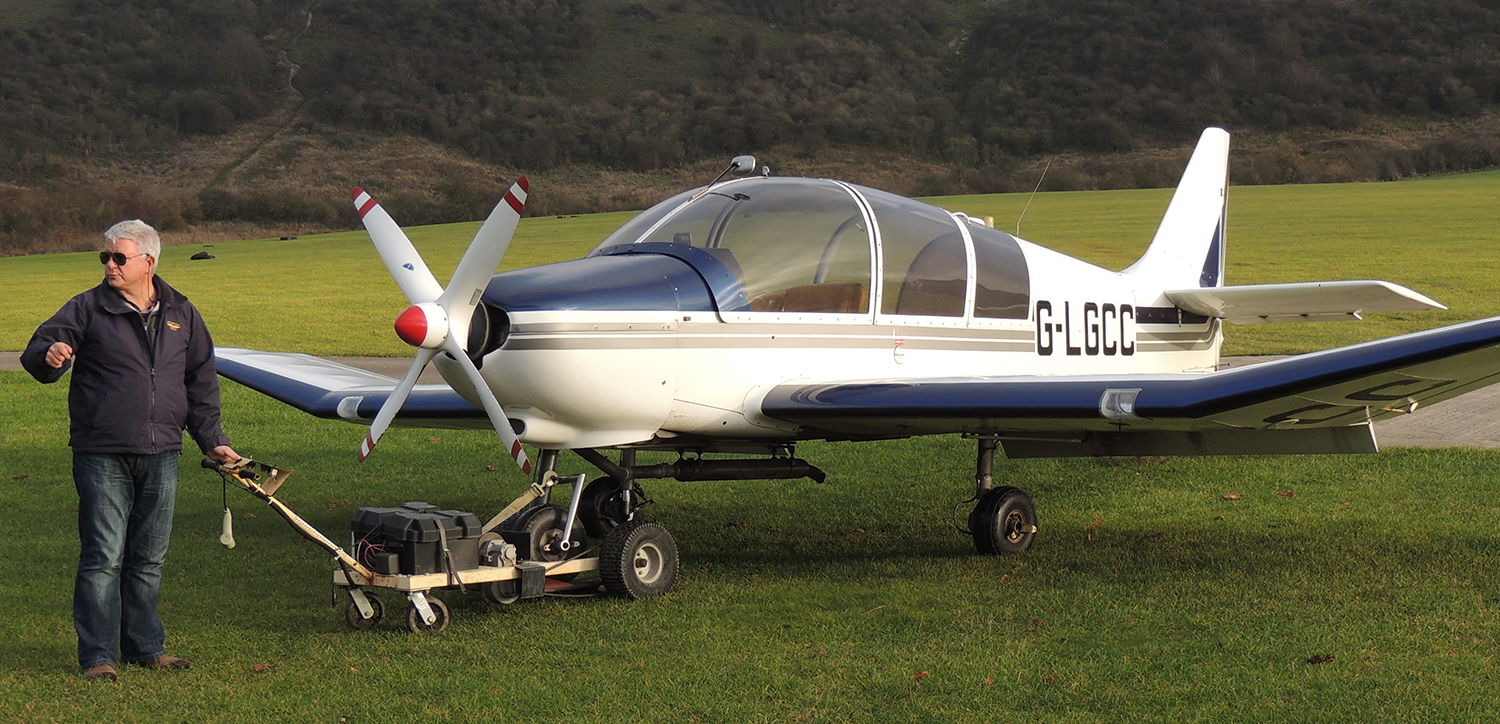
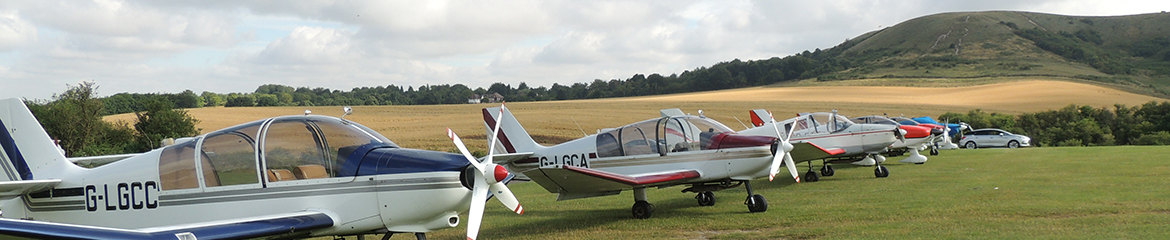
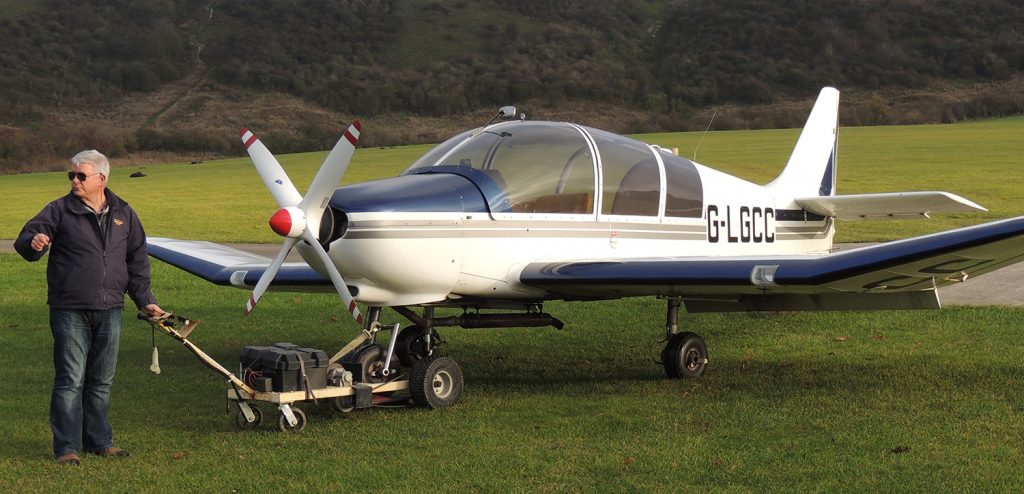
The tug mover has been provided to move our Robin aircraft in and out of the hangar and to and from the airfield or refuelling area. The advantages include moving aircraft single-handed and moving the Robins without pushing or pulling on propellers, the wooden leading edge or other fabricated parts of the aircraft.
The unit is battery powered, extremely powerful (capable of moving 3 tons) and therefore requires careful handling. The following illustrates the main components and their controls, along with basic procedures to operate the unit.
Components and Controls
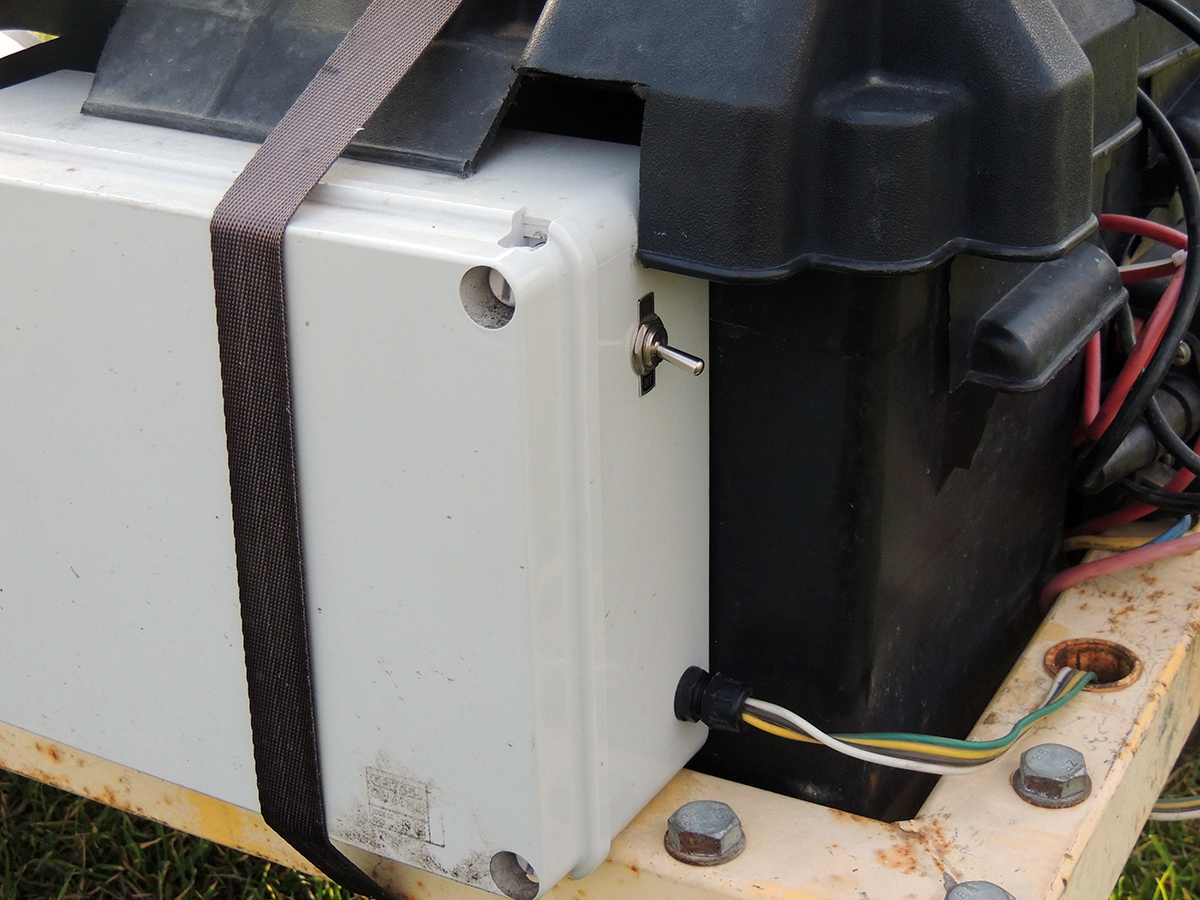
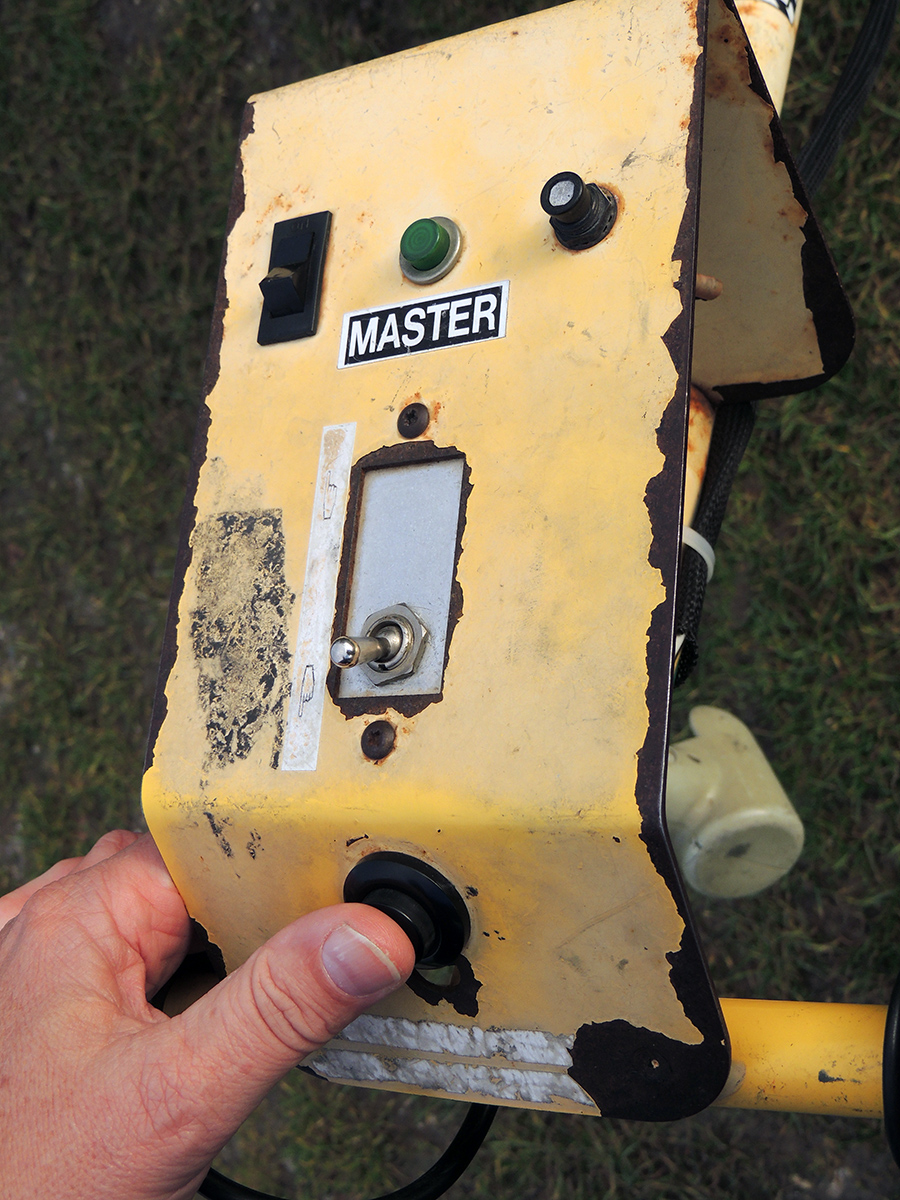
Master Switch: Connects batteries to all components. UP is ON, it should be switched OFF when unattended
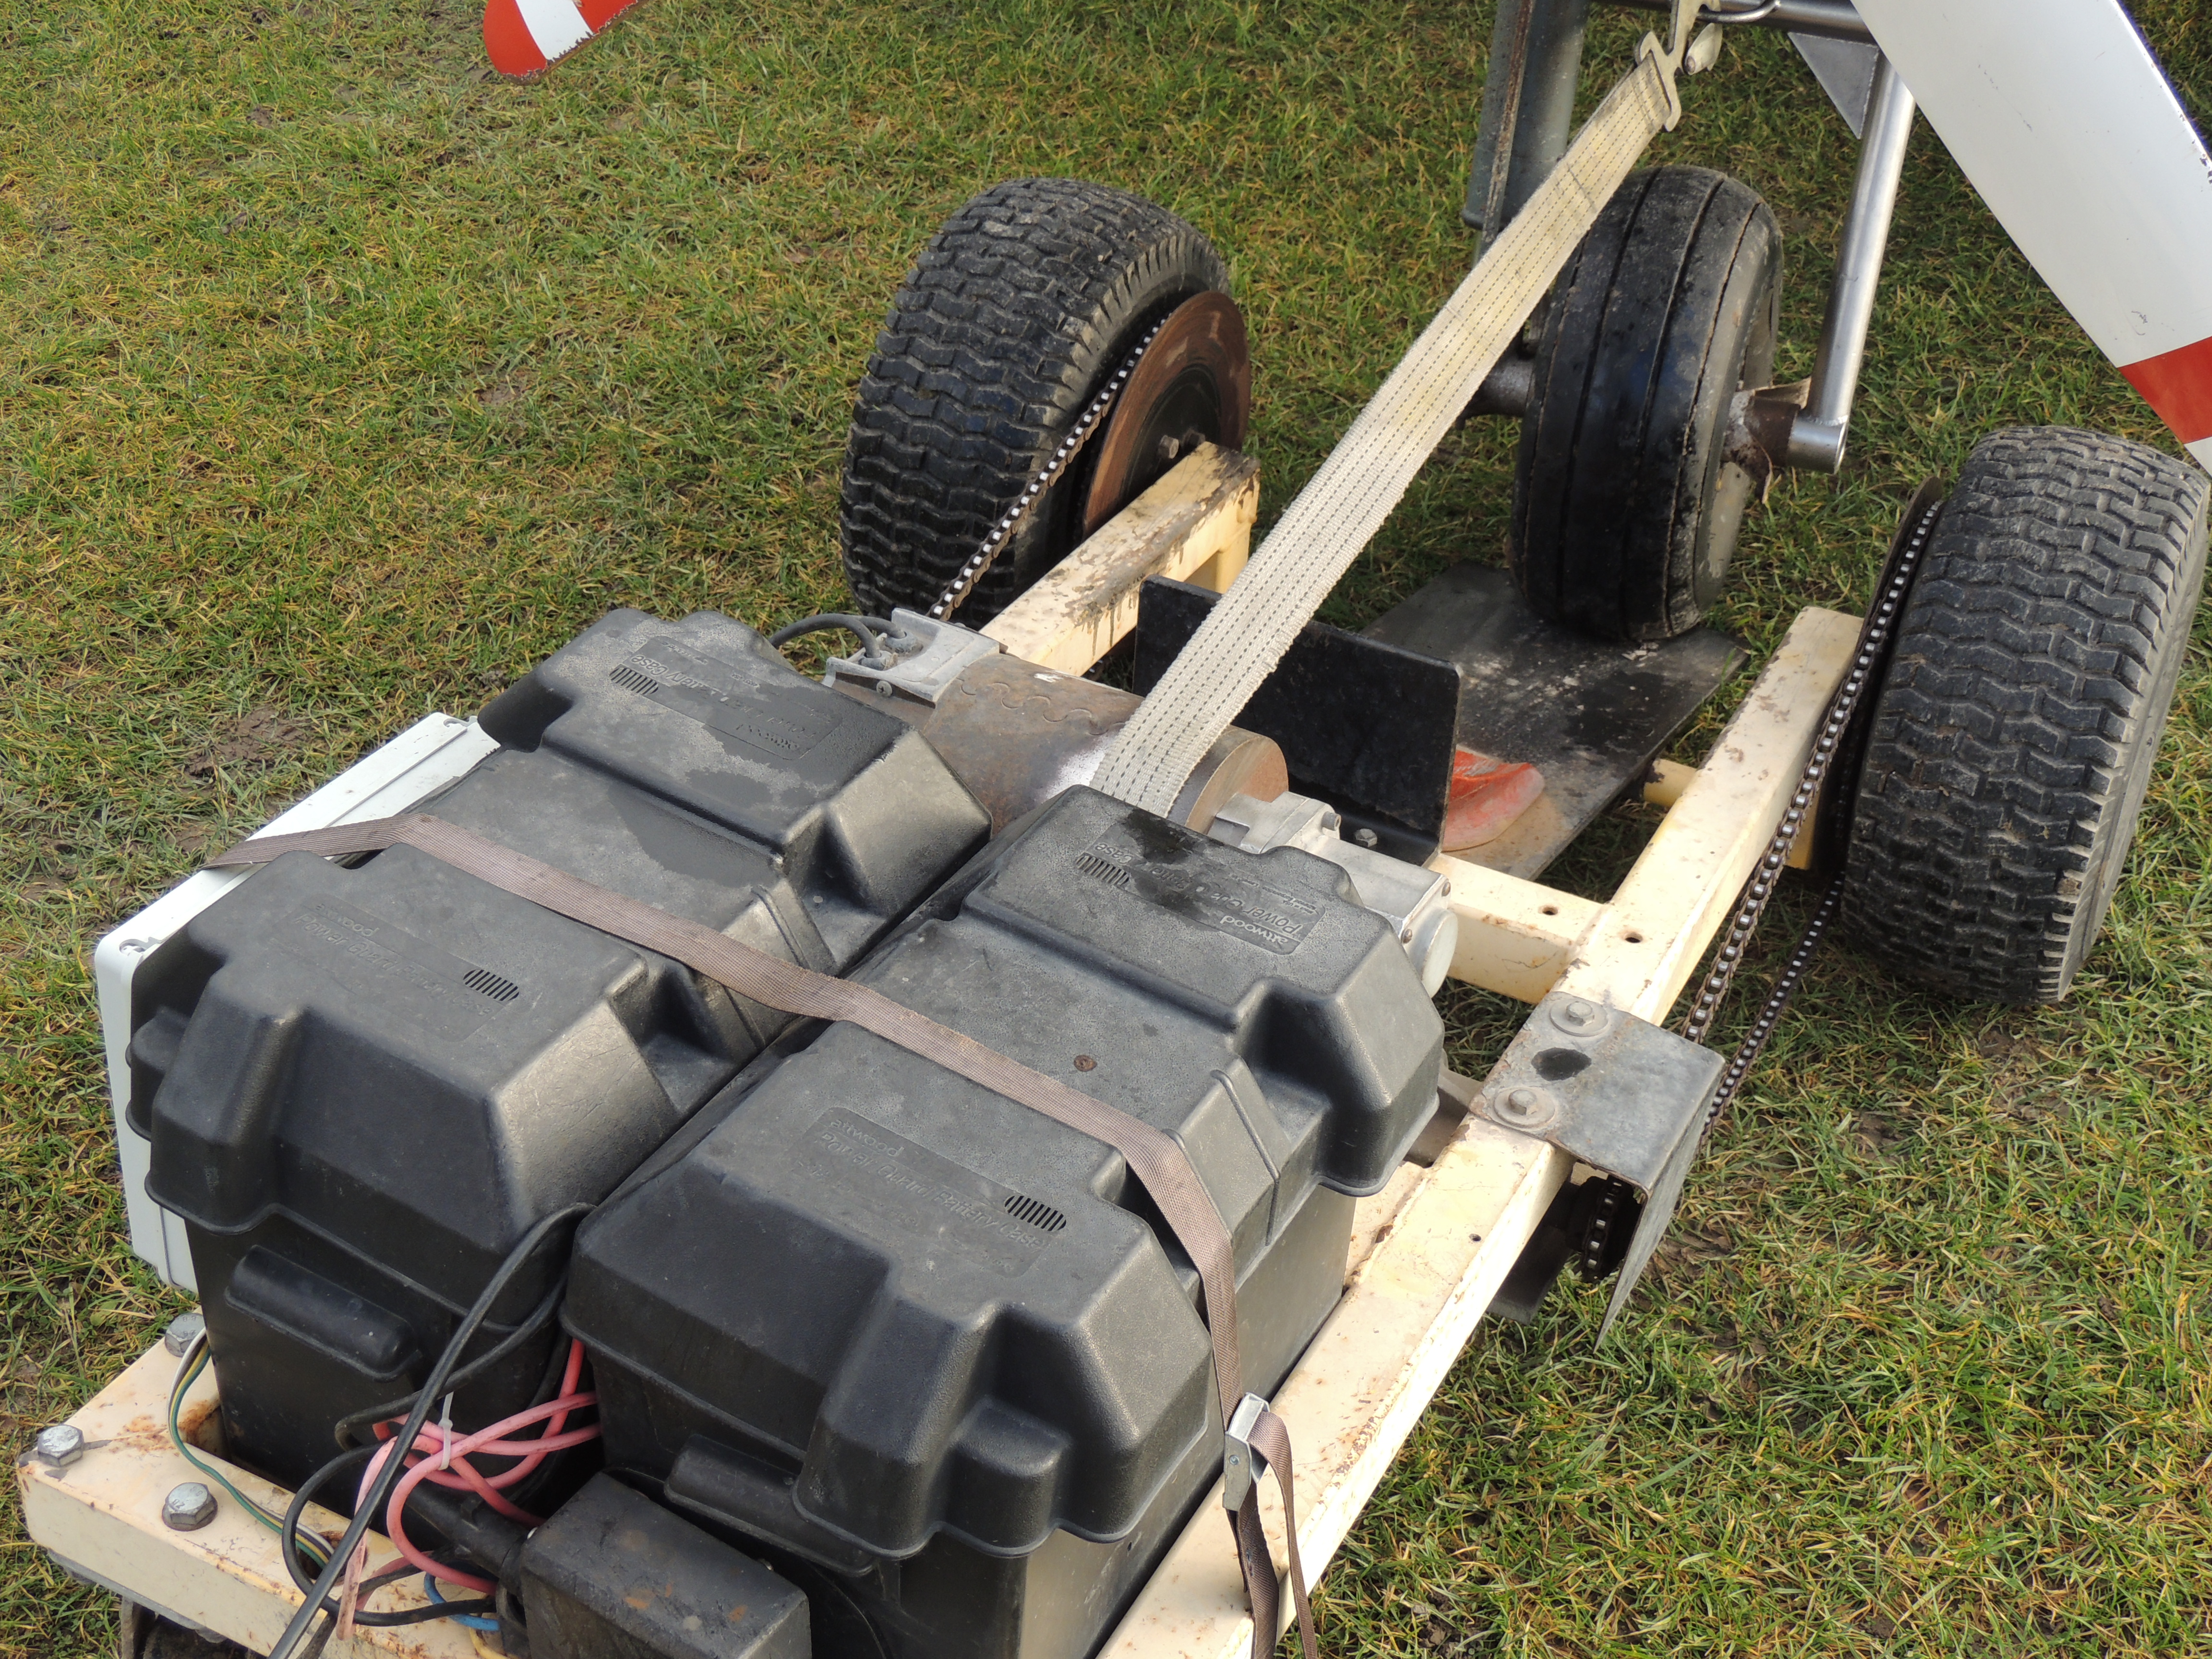
Main Batteries: 2 heavy duty batteries provide power to the unit. A power cord is attached for overnight charging (see charging below).

Drive Motor: This powers the main wheels through the reducing gear.
Winch: An electric motor powered winch for pulling aircraft onto the mover and releasing it from the mover.
Drive Control: Select to drive forward or backward. Hold the button down to move.
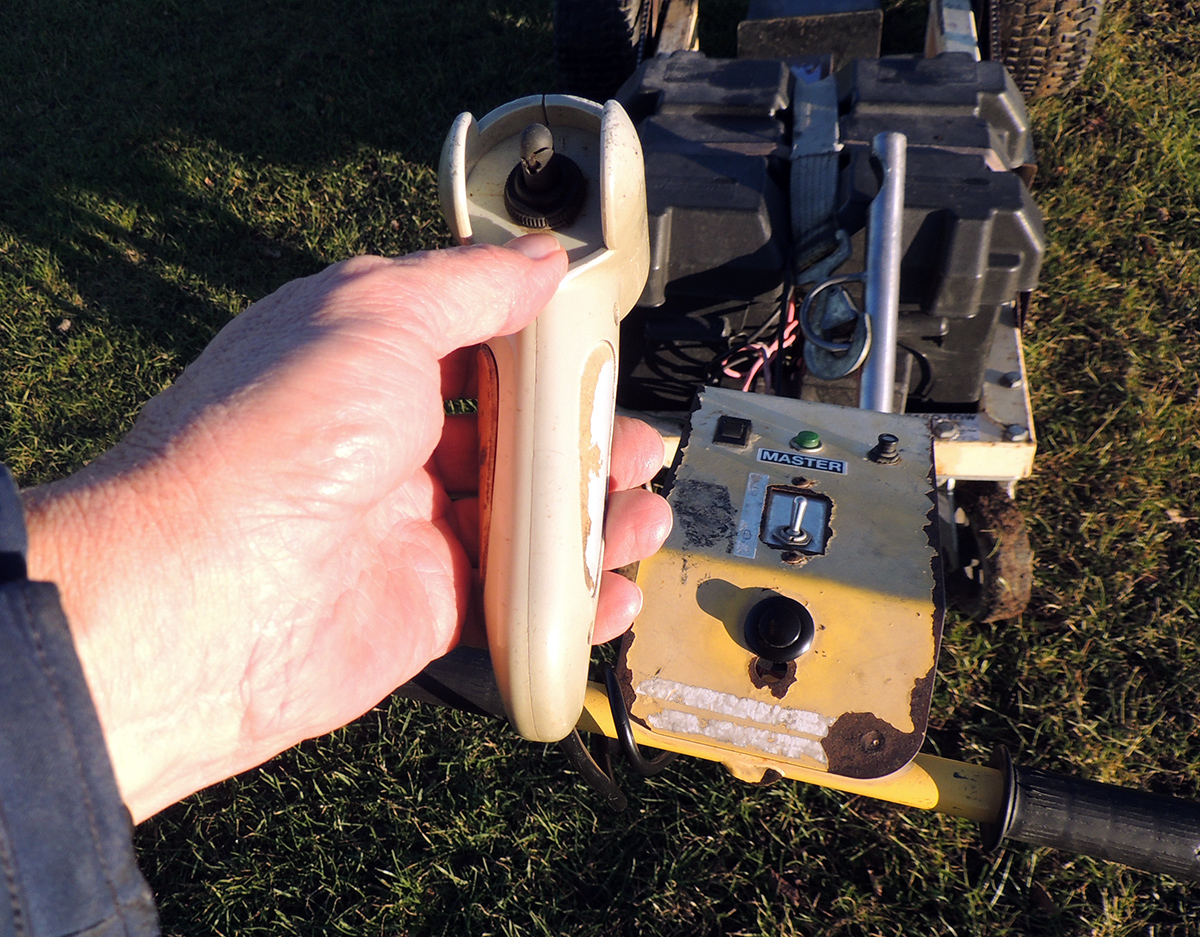
Winch Control: Select and hold to wind or unwind winch webbing.
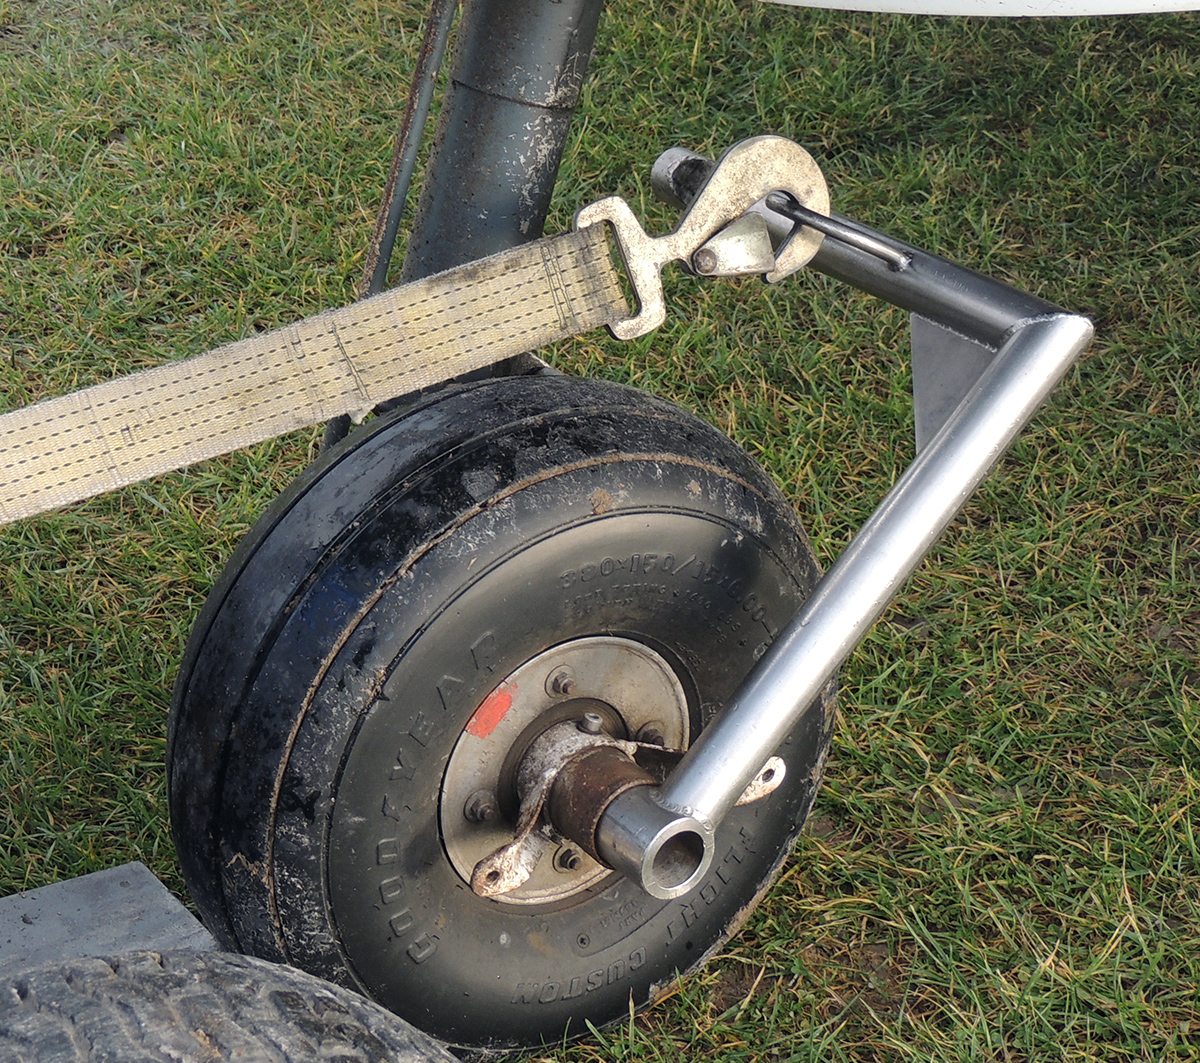
Connector: Attached to the winch webbing for attachment to the nose leg.
Procedures for connecting and moving aircraft
-
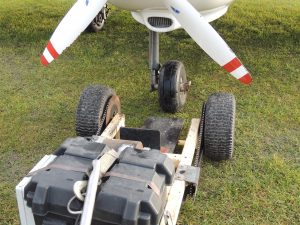
- Ensure the prop is clear, diagonal for the 4 bladed prop. The nose wheel must be straight. Bring the mover into the position as shown. The ramp will need to be lowered to receive the nose wheel.
-
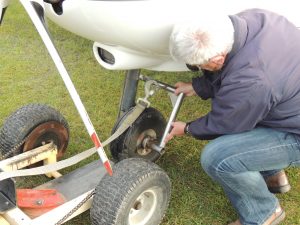
- Use the winch control to unwind the webbing and attached connector to roughly the extent shown in the picture. Locate the connector into the nose wheel axle.
-
- Slowly winch in so the connector mates snugly with the rear of the nose leg.
-

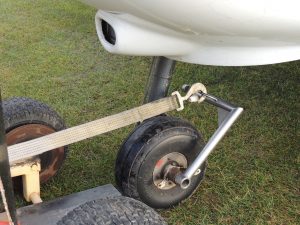
- Check the connector and alignment of the nose wheel ready for loading. Slowly winch the aircraft onto the platform and nose wheel receptacle. Take care that the nose leg does not contact the side of the mover.
-
- Aircraft is fully loaded and winch webbing under tension. Check the nose leg is straight before moving. The aircraft can be pulled forwards but in this case the whole load will be on the winch, so watch the connector and tension as you move.
-
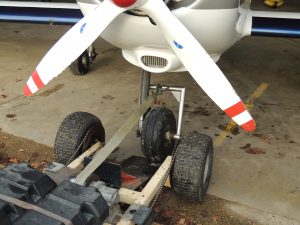
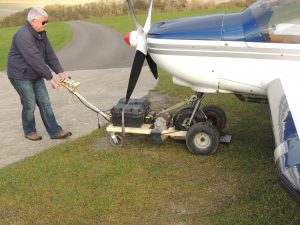
- The main wheels of the mover comfortably drive over the hangar rails. Help the smaller castor wheels over the rails by taking a little weight on the steering arm.
Parking and charging the mover
After use, the mover should be positioned below the Tug Status Board, a power extension is available here to plug the unit’s charger in overnight. A green light will come on when you connect to the tug mover, however, you must operate the inline switch on the outlet to start charging. This is indicated by a red and yellow light on the charger. See diagrams below. The yellow light will turn green when fully charged.
-
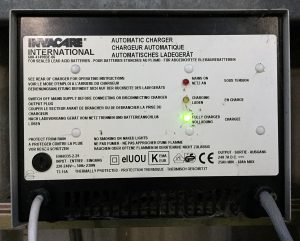
- Charger connected but not yet charging.
-
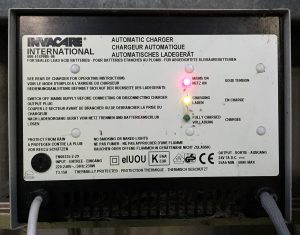
- Charger connected and charging
-
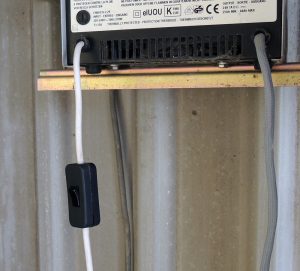
- Inline charger switch
Cautions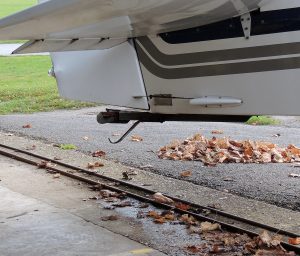

- The tug mover is not water proof, in fact the electrical connections and motors are quite exposed. So if there is any chance of rain, return it to the hangar.
- When releasing the aircraft from the mover, it is probably best to extend the connection webbing until the aircraft is completely off the tug mover platform. Outside, set the parking brake on the tug, then remove the tug mover. Inside, as long as the aircraft is stationary on the hangar, the tug mover can be removed and the aircraft moved in to it’s final parking position by hand.
- It is possible for the tail skid of the Robin to make contact with the hangar door rails or ground when moving in or out of the hillside hangar entrance. Take extra care.
- After use remember to turn the master OFF.
Return to ‘Equipment’ Return to ‘Front Page’